
In this post, I will walk you through Azure Bot Services(https://docs.microsoft.com/en-us/Bot-Framework) to build and connect a bot but first we need to build our bot's brain and fill it with the knowledge using QnAMaker( http://qnamaker.ai).
This post is divided into following three sections:
- Architecture
- Building the Knowledge Base (KB)
- Building the Chat Bot
Architecture
Following is the architecture of our solution where we will build a service (bot's brain) in QnA Maker and then fill it with our Knowledge Base. Then we will create our bot in Azure Bot Services and link it to the bot's brain (MyBotService) and then we can publish our bot via different channels. We can use Channels to display our bot inside a SharePoint Page, Skype, Teams, Facebook Messenger etc.

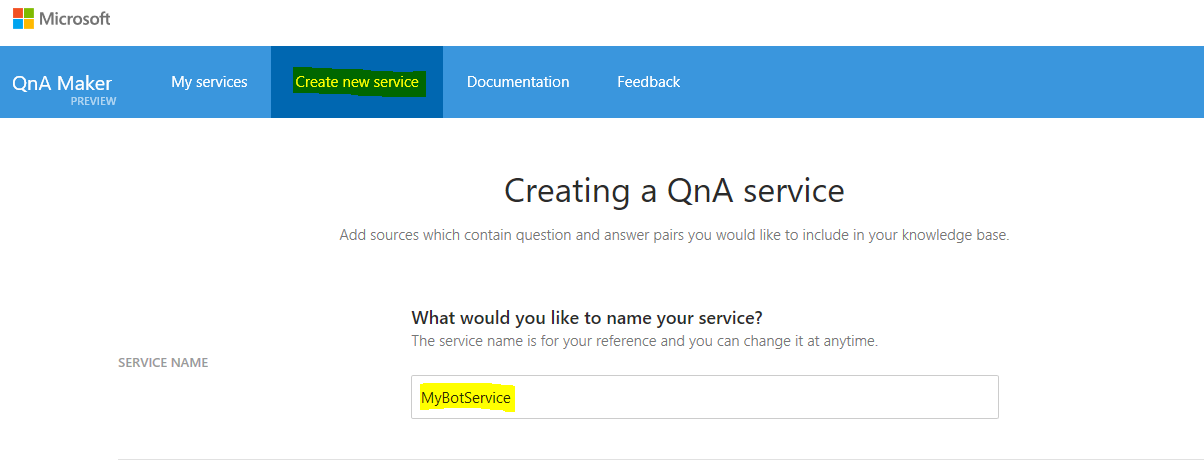
- Log on to QnA Maker at https://qnamaker.ai.
- Select Create New Service tab and provide name of the bot service e.g. MyBotService, leave remaining fields as it is and hit Create button to create the service which will serve as brain of the bot.

- You should see the screen where you can provide the knowledge base for your bot. Add couple of questions and their answers by selecting + Add QnA Pair. Once you add few QnA pairs, hit Save and retrain to train your model. You can also provide the questions and answers in text, pdf and document format.

- You can select Test tab to test the knowledge base in chat format.
- Hit Publish once testing is done, and then hit publish again on the next screen to publish MyBotService to the web. We will consumed this service through our Bot.
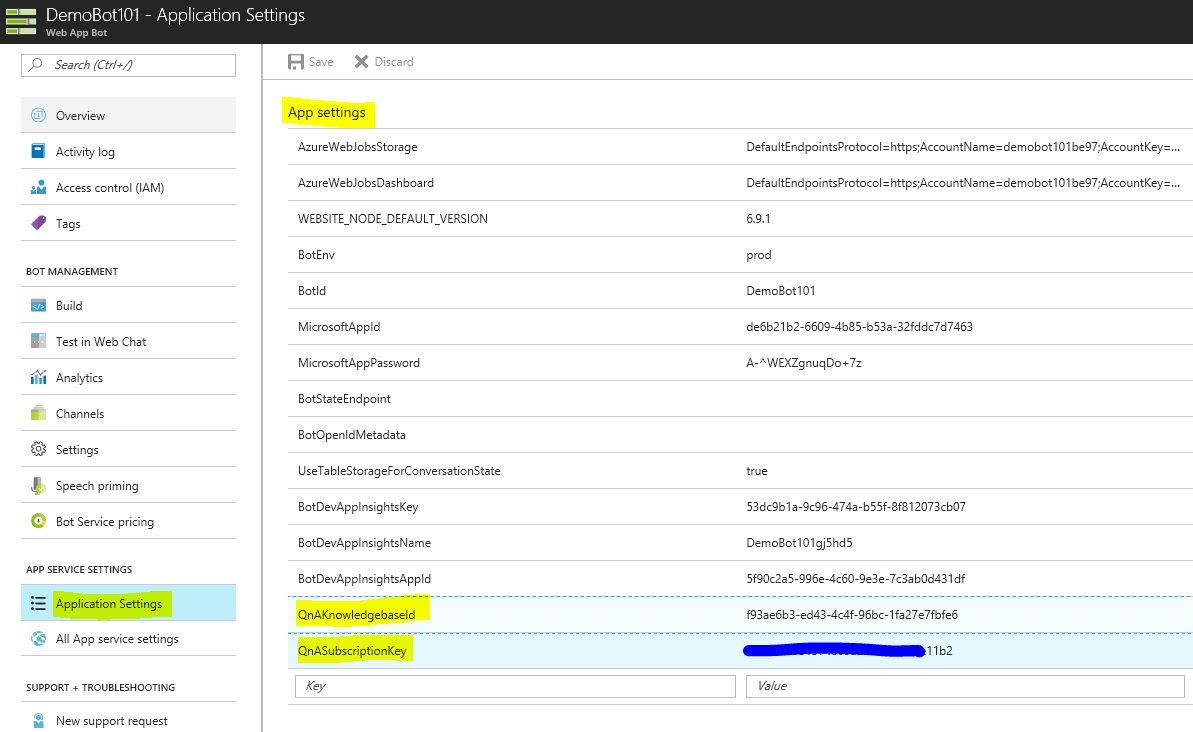
- Once the MyBotService is published, Save the two values highlighted in the screen shot below as QnAKnowledgebaseId and QnASubscriptionKey. We need this information in our Bot's settings.


Building the Chat Bot
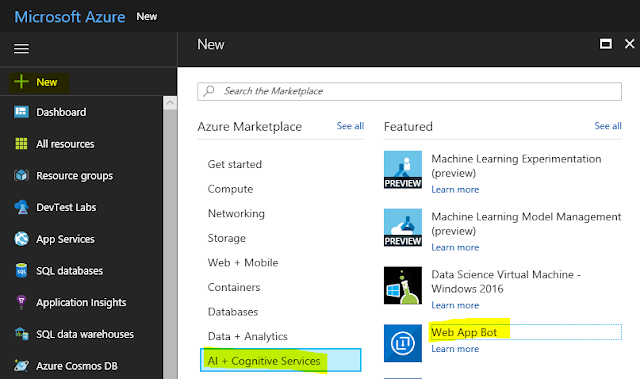
- Log on to Azure at http://portal.azure.com.
- Select New and go to AI + Cognitive Services section and choose Web App Bot.
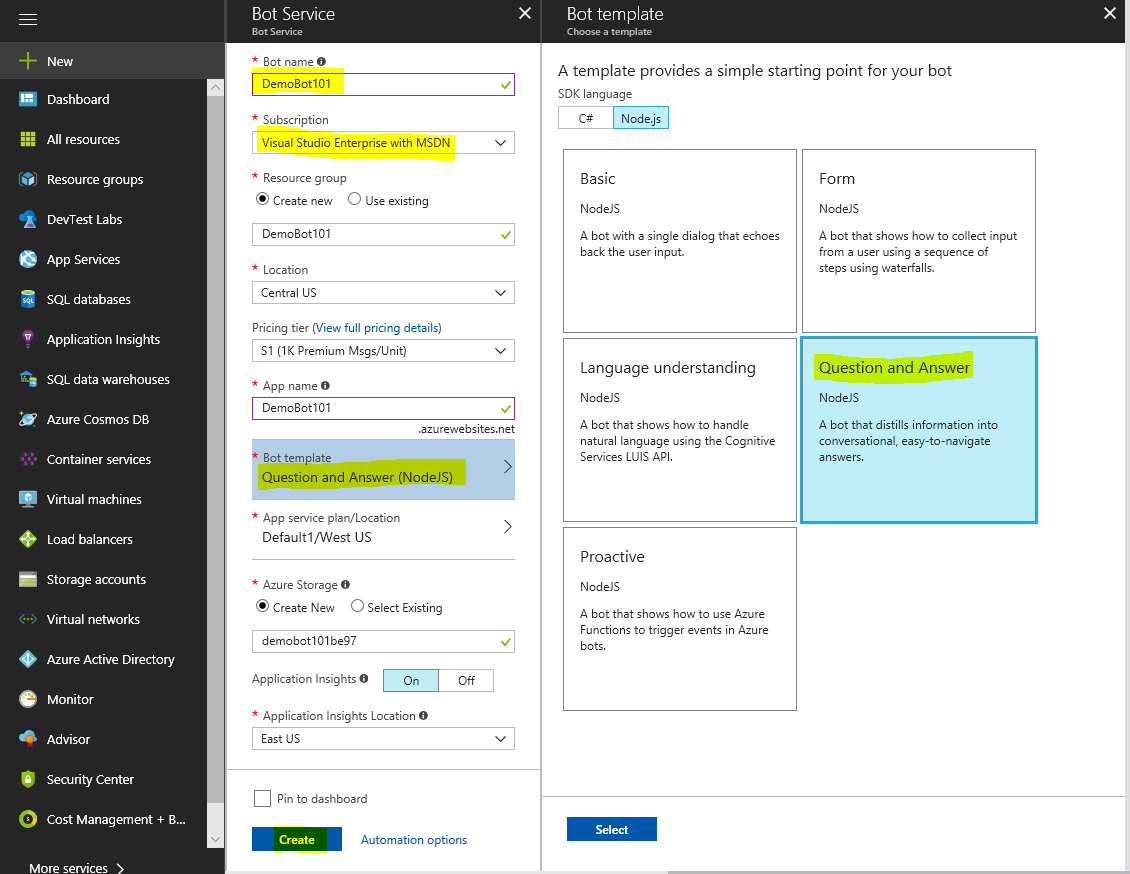
- Provide a unique Bot Name (e.g. DemoBot101), select Subscription and then choose Bot template as Question and Answer. You can also choose between C# or Node.js SDK which doesn't matter in this case as we are not writing any code. Select Create button at the end to create the Bot.

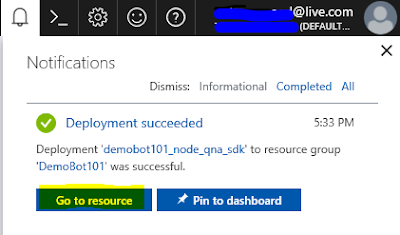
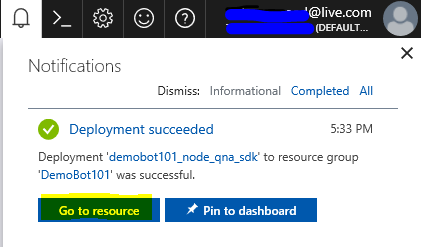
- Once the basic bot has been created you will be notified and select Go to resources from the notification section to see the Bot's details, settings etc.
- Select Application Settings of the bot and go to the App settings section and provide the value of the keys QnAKnowledgebaseId and QnASubscriptionKey which we copied while creating the MyBotService and hit Save.

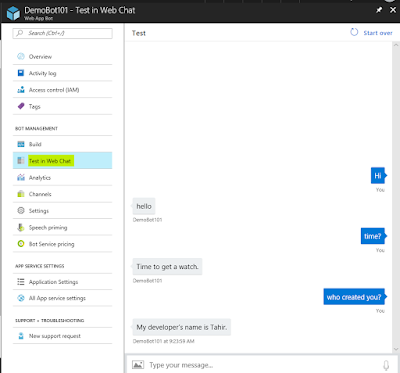
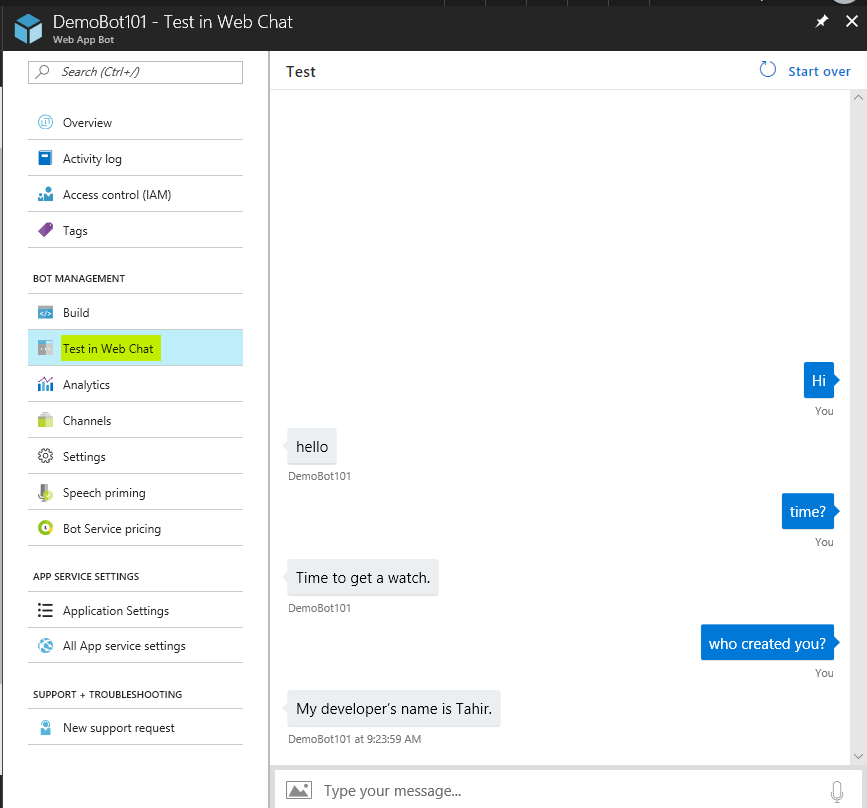
- Now you can test the bot from Test in Web Chat tab.
- Once the testing is completed, this Chat Bot can be published to web, Skype, Teams, MSN Messenger etc via Channels.


i adore perusing this article so beautiful!!great work! random texting strangers
ReplyDelete